Tools Setup 2025-26
My Journey with Tools Setup and Refresh
Tools Setup 2025-26
Overview
This year’s setup process was smoother because I already had most of my tools configured from last year. I was already familiar with GitHub, VSCode, and WSL, and I had previously worked with Linux commands for installing dependencies and managing repositories. The main update was moving to WSL Ubuntu 24.04 (from 22.04), which went smoothly thanks to my prior experience.
The most important change in workflow this year was how we connected to the course repository. Instead of using the OCS repository as a template like last year, we had to fork from the upstream OCS repo and then clone our fork. This ensures that we can pull updates from upstream while still having our own repository for commits and customization. Once I made this adjustment, the GitHub integration with VSCode worked as expected.
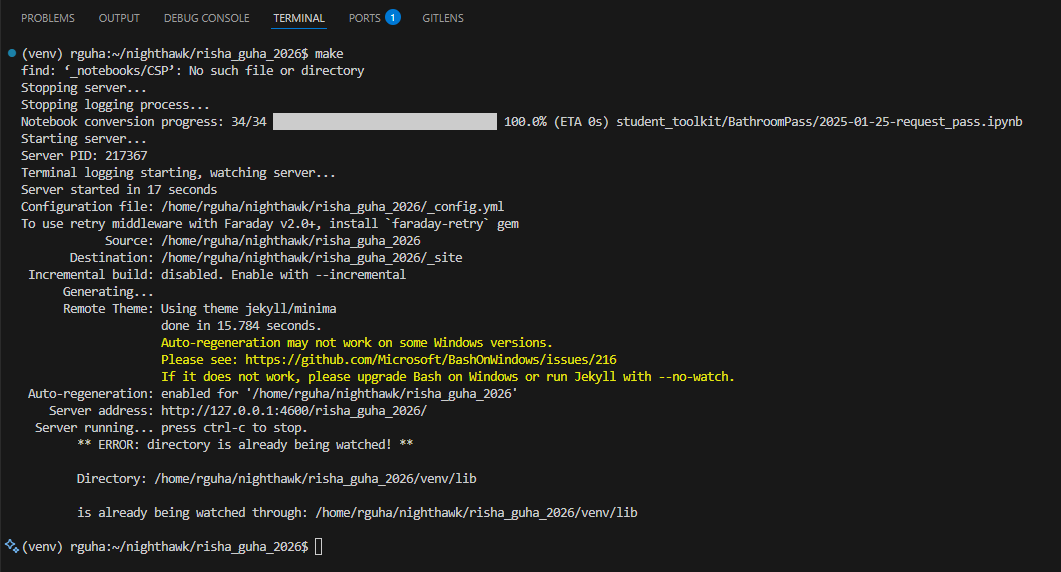
I verified that the setup worked by running the Makefile, confirming my environment builds properly and that my site runs both on localhost and when deployed to GitHub Pages.

Easy Access Shell Command Descriptions:
- wsl – access Windows Subsystem for Linux (Ubuntu 24.04)
- cd – change directory
- mkdir – create directory
- echo – print text
- sudo – run commands with elevated privileges
- apt – install or manage packages on Linux
- git – version control system to manage repositories
- code – open VSCode from the terminal
- ls – list files and directories
- rm – remove files or directories
- cp – copy files or directories
- mv – move or rename files or directories
- find – search for files or directories
- grep – search for text patterns inside files
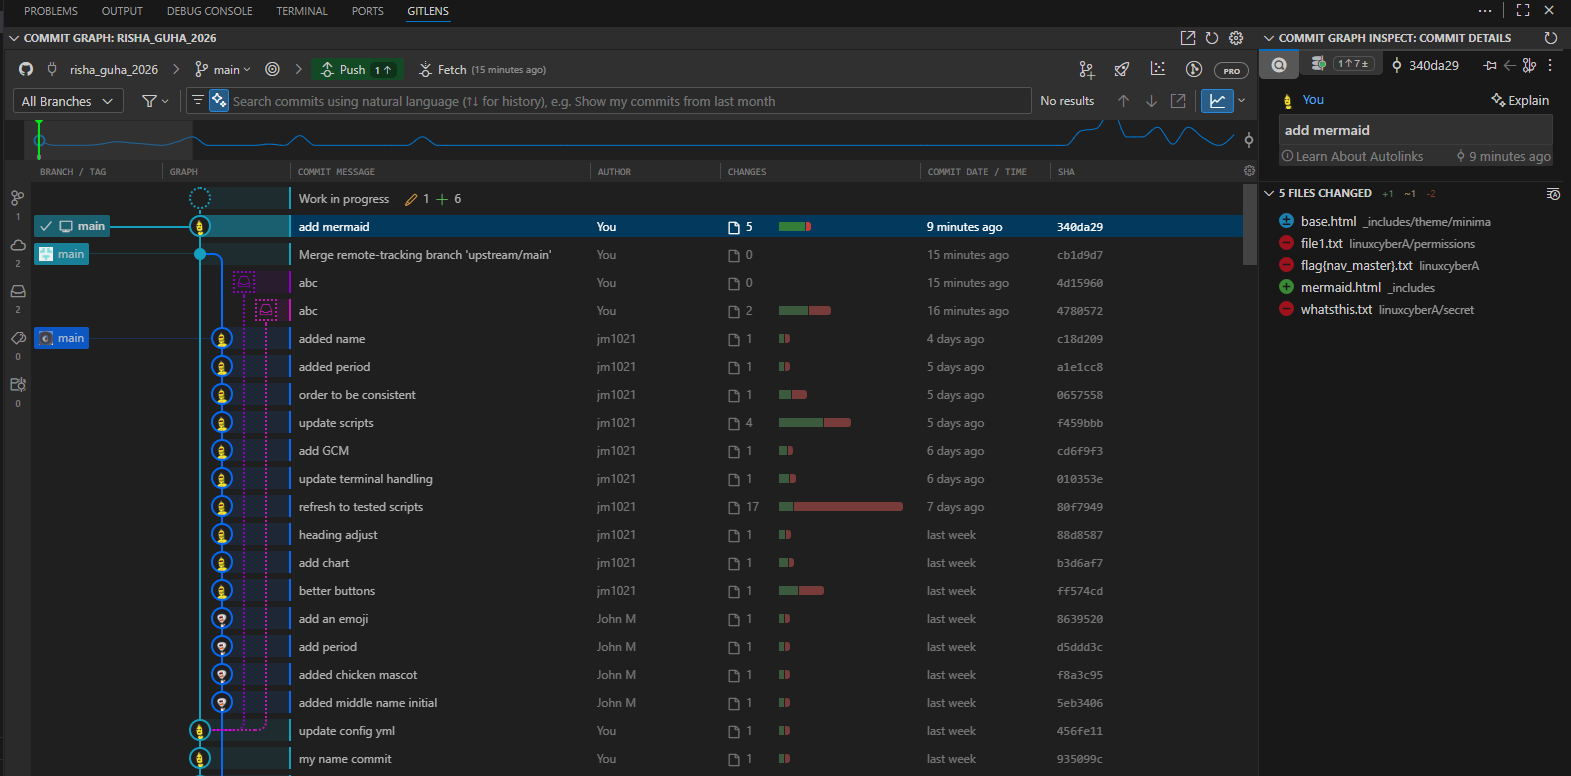
Version Control
GitHub and VSCode Setup
- GitHub is used for remote storage of repositories, while Git tracks version control locally.
- I forked the upstream OCS repo, then cloned my fork into WSL.
- VSCode with GitLens helps me view commit history, differences, and branches.
Files on Local Machine
- Cloned repositories are stored inside WSL and can be opened directly in VSCode.
- Navigation is done with standard Linux shell commands.
Updating GitHub
- Commit: Save changes locally.
- Push: Send commits to my fork on GitHub.
- Pull: Sync changes from upstream or my remote fork.
Running Makefile
- Running
makeensures Ruby, Python, and Jekyll dependencies build correctly. - Successfully running the Makefile means the local server (
localhost:4600) mirrors what will be deployed.
Localhost vs. Deployed Server and DNS
- Localhost: Runs at
http://127.0.0.1:4600/risha_guha_2026. Only visible to me. - Deployed GitHub Pages: Runs at
https://blackstar3092.github.io/. Publicly accessible after pushing commits.
Tools Verification
Installed Versions
- git: 2.43.0
- ruby: 3.2.3
- python: 3.12.3
When setting up Ruby, I initially ran into a permissions issue. Running the install under a venv and with administrator permissions solved the problem.
Reflection
This week, I didn’t need to start from scratch because most of my toolchain was already in place. The biggest improvement in my workflow was understanding the difference between forking from upstream vs. using a template. Forking allows me to pull updates from the teacher’s repository, which keeps my work synced and prevents me from falling behind.
I also improved my confidence in verifying the setup by checking GitHub commits, confirming Makefile builds, and testing both localhost and deployed versions of my site. This makes my development process smoother and more professional.